
What are the benefits of tyre repair kits?
The biggest advantage of puncture repair kits is space and weight. A full size spare wheel can weigh approximately 20kg, and they are only half the size of a standard car battery, meaning they leave vital space for other technology and features. According to research, they could offer a temporary fix for 80% of tyre punctures. They are arguably a lot less messy and stressful than using a jack and wheel brace. However, there are many stipulations and scenarios where using a temporary tyre repair kit is not a suitable solution, and they are always only a short-term measure.
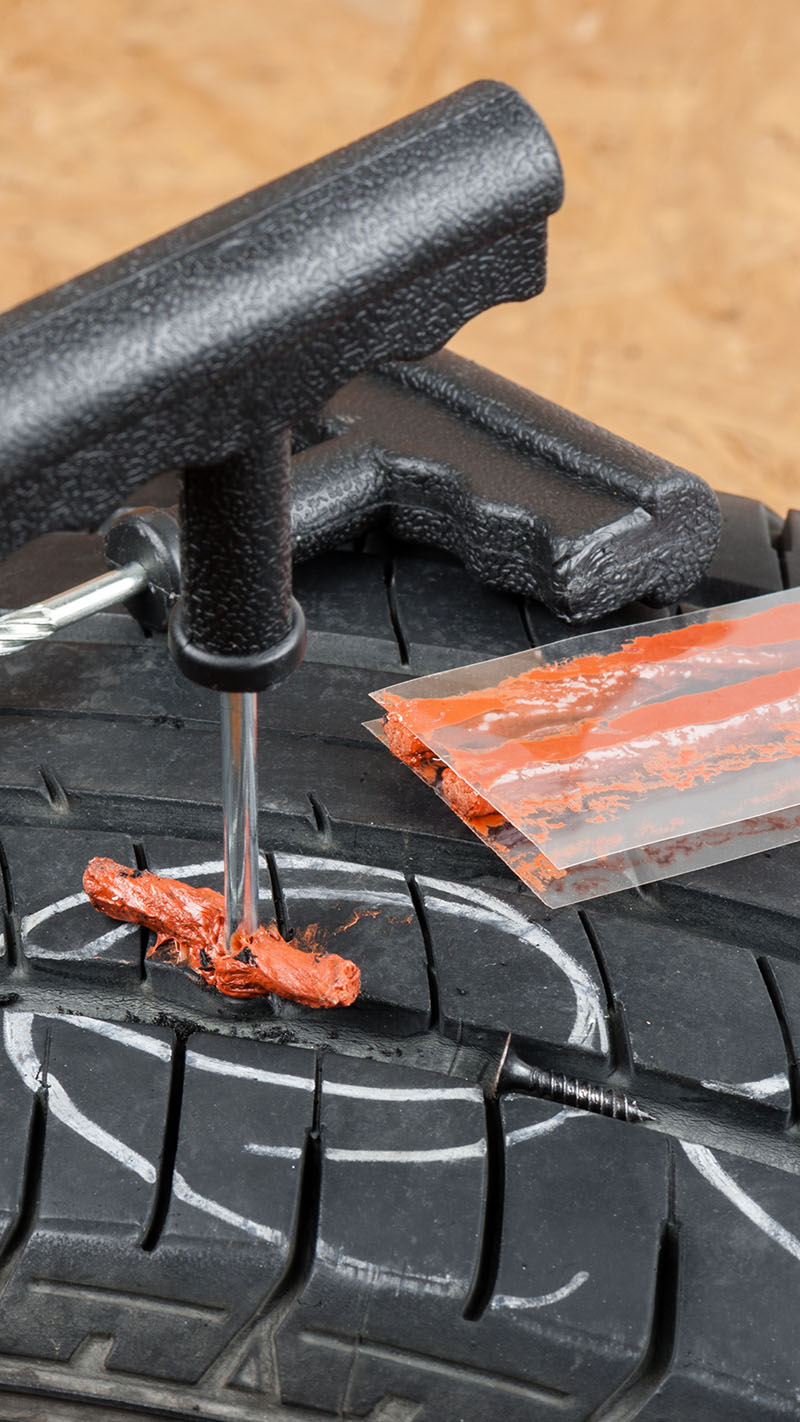
What can I expect to find in the repair kit?
The kit should include a can of sealant and a compressor. It may also include stickers to remind you to not continue to drive on the tyre beyond what is necessary – place these on the tyre and inside the car and replace the tyre at the earliest opportunity.
Remember, this is a temporary fix and not a definitive solution to the puncture. You will need to replace the tyre as soon as you get home or to a garage where you can replace the wheel.
Using a puncture repair kit
Firstly, do not try and fix a tyre on the side of a road. Make sure you turn off and pull over away from traffic and tell any passengers to get out of the car and wait away from the road. Only do this if it is safe to do so.
If a puncture occurs on a main road, or you do not have fast, convenient and close access to a safe place to stop, then do not attempt to use your temporary tyre repair kit and instead call for emergency breakdown assistance.
If you are able to pull over, and once everyone is safely out of the vehicle and away from the road side, turn off your engine and place your handbrake on.
Turn on your hazard lights and place your hazard awareness kit on the road to make other drivers aware of your vehicle.
Before you begin, be sure to read the instructions on the kit before you start, then locate the kit (usually in the boot).
Do not use the repair kit if:
- There is damage to the wheel rim
- The tyre has been deflated for a period of time
- The puncture is larger than 4mm in diameter
- The puncture is outside the main tread area (on the sidewall)
Inflating your tyre after fixing
You’re now ready to use the compressor to re-inflate your tyre (sealant may also be pumped in at the same time).
Always check your vehicle manual to find the correct pressure. Make sure your handbrake is on. You’ll then need to turn the engine on and switch on the compressor. There will be a valve on the compressor to show you the correct pressure level.
Once you have reached the correct pressure, turn off the compressor and detach from the valve.
Testing the temporary tyre repair
In order to ensure the sealant has worked as a temporary repair, you will need to drive a short distance at a slow and then moderate speed before rejoining a busy or fast road.
Provided it is safe to do so, drive your vehicle for a few minutes and pull over again in a safe spot to check the inflation on the tyre. If your TPMS system is still reporting low pressure or the tyre is visibly deflating you will need to cease the journey and seek professional emergency breakdown assistance.
It is crucial that you do not continue to drive unnecessarily on a tyre that has been repaired with an emergency repair kit. You should look to replace the tyre at the earliest convenience.